This Training Manual is focused on the article option under site section of Buzzify.
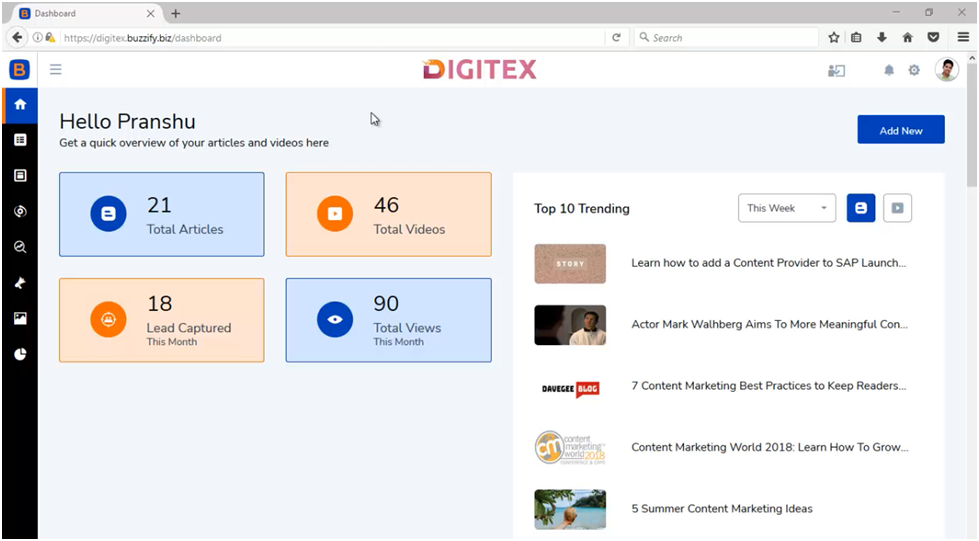
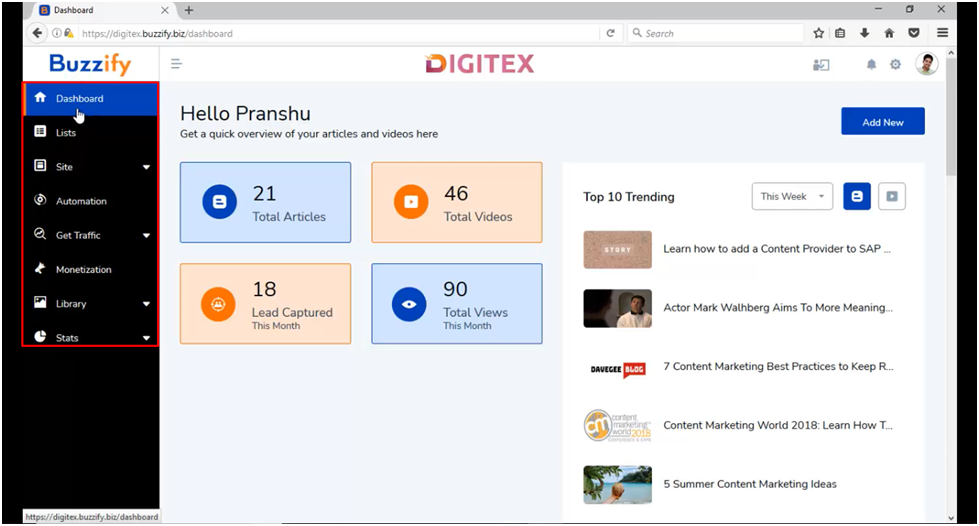
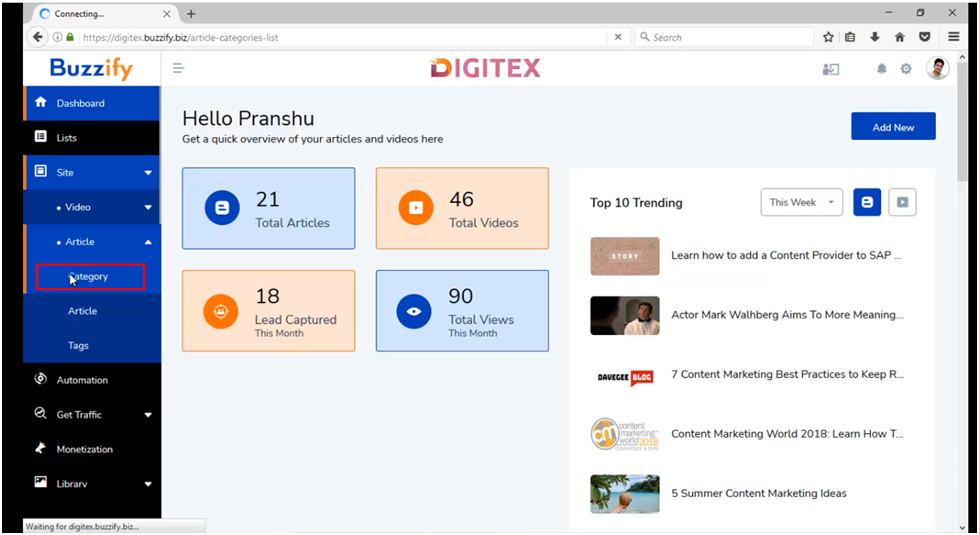
Here on the left-hand menu bar, we will check the options like Dashboard, List, Site, Automation, Get Traffic, monetization, etc. here.
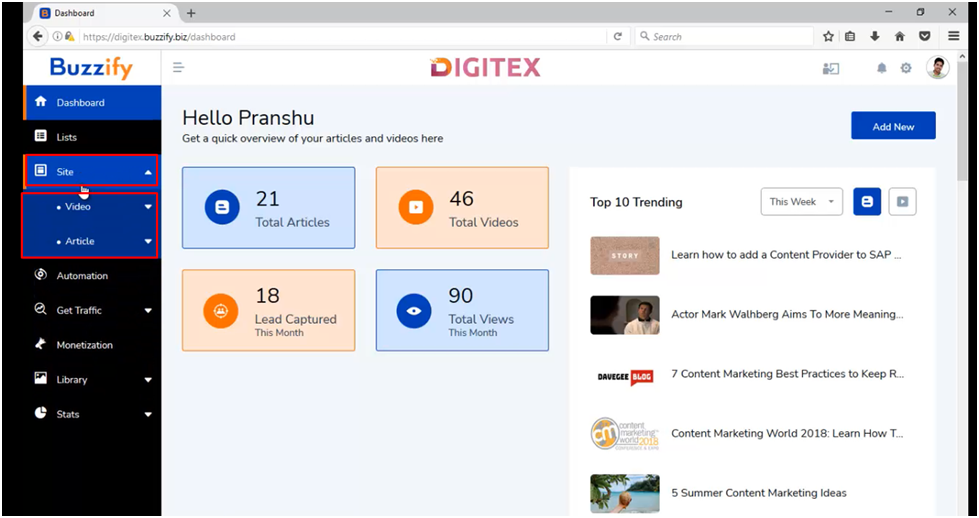
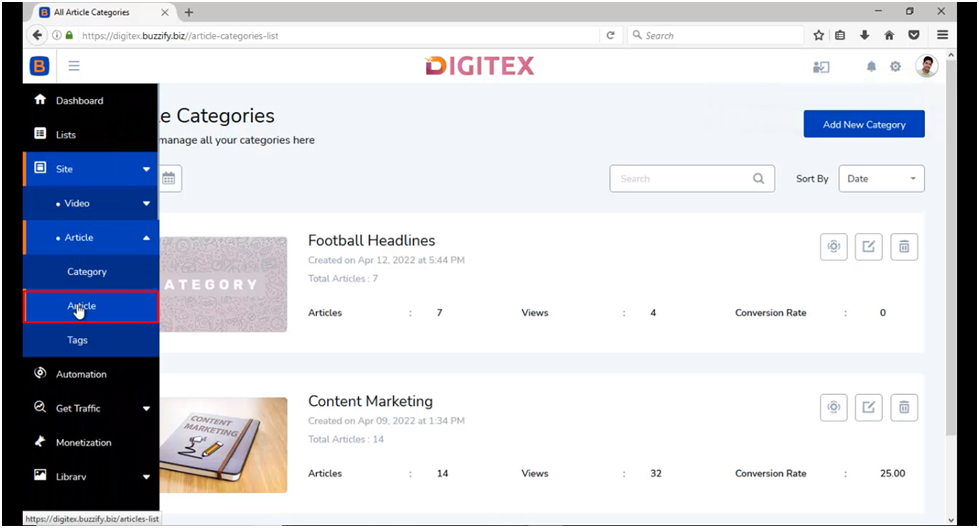
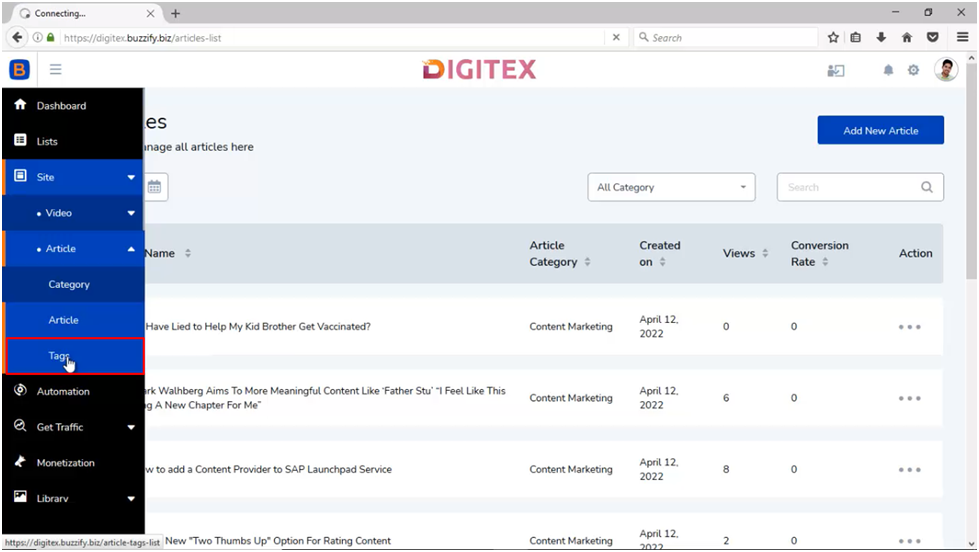
Now check the Site option then Video and Article will be displayed in the dropdown
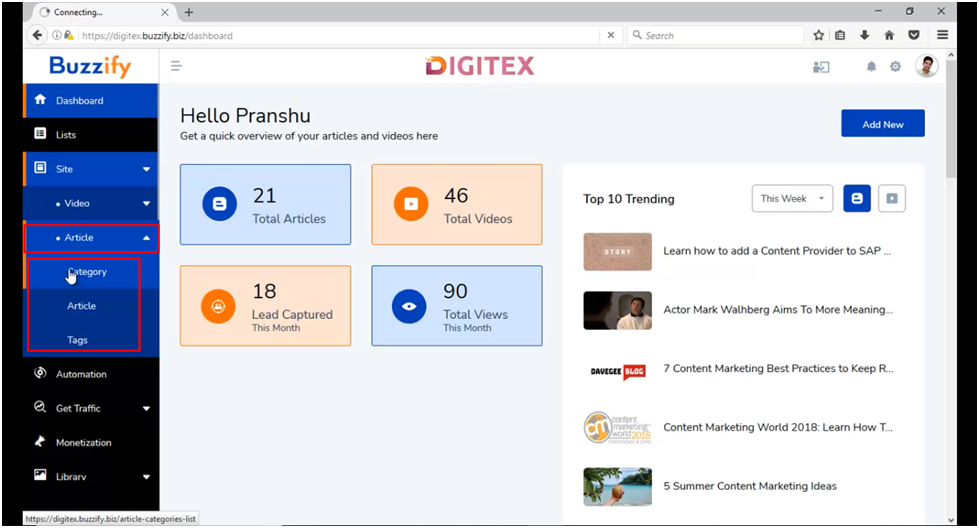
Here Click on the article option and you will have further three options as Category, Article and Tags
Then click on Category
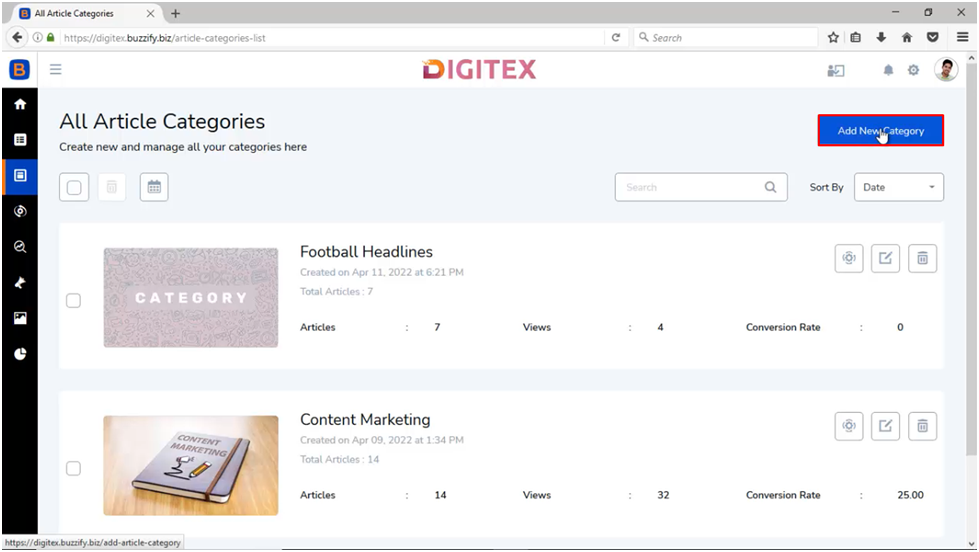
Now you will have the option to Add New Category located on the top right corner of the dashboard just click on it.
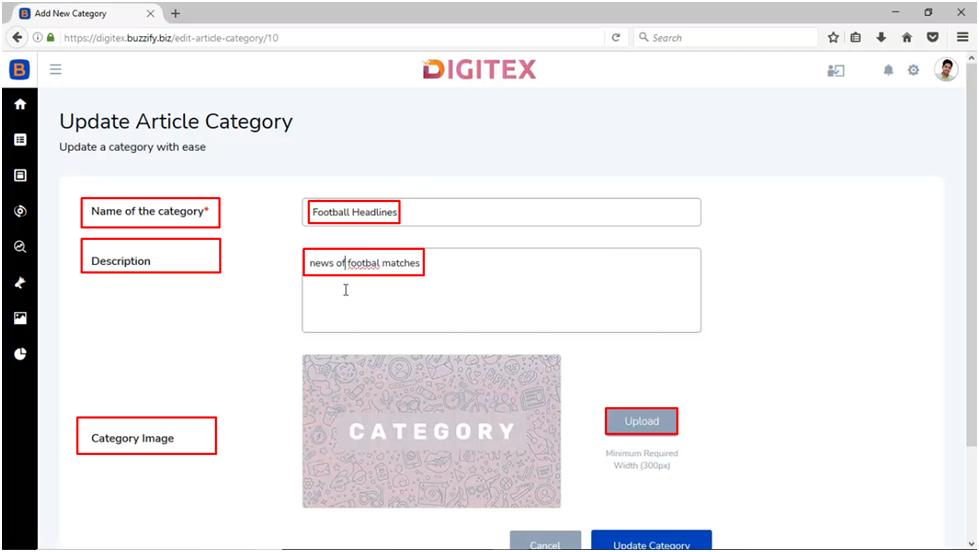
Here you will be asked to enter the name of the Category, Description and upload category image using upload option.
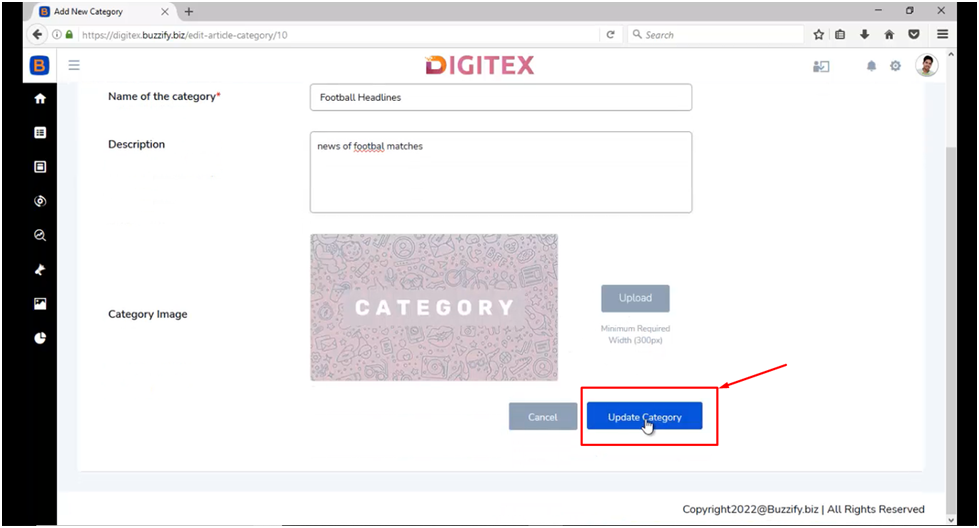
Now click on Update Category and your category will be added.
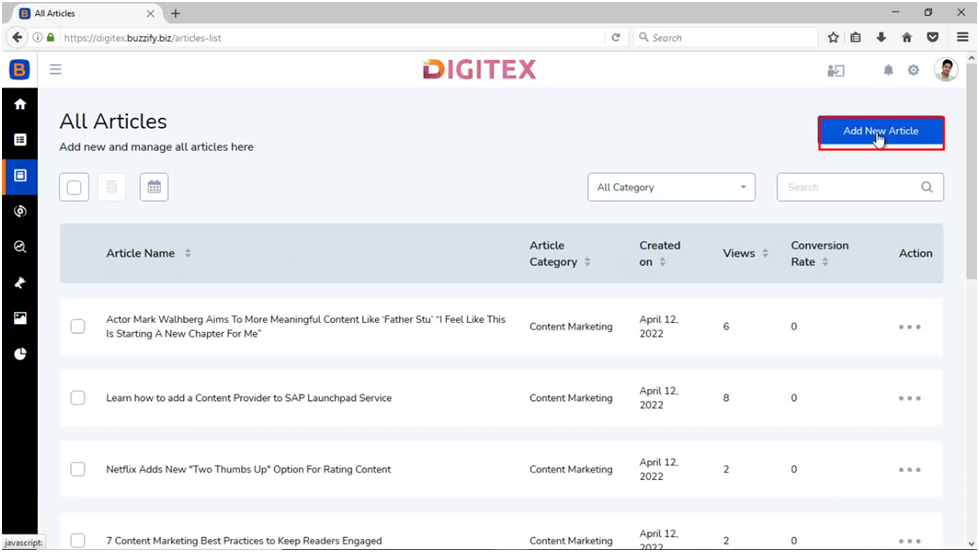
Then next option under Article is Article. Click on it
Now you will have the option to Add New Article located on the top right corner of the dashboard.
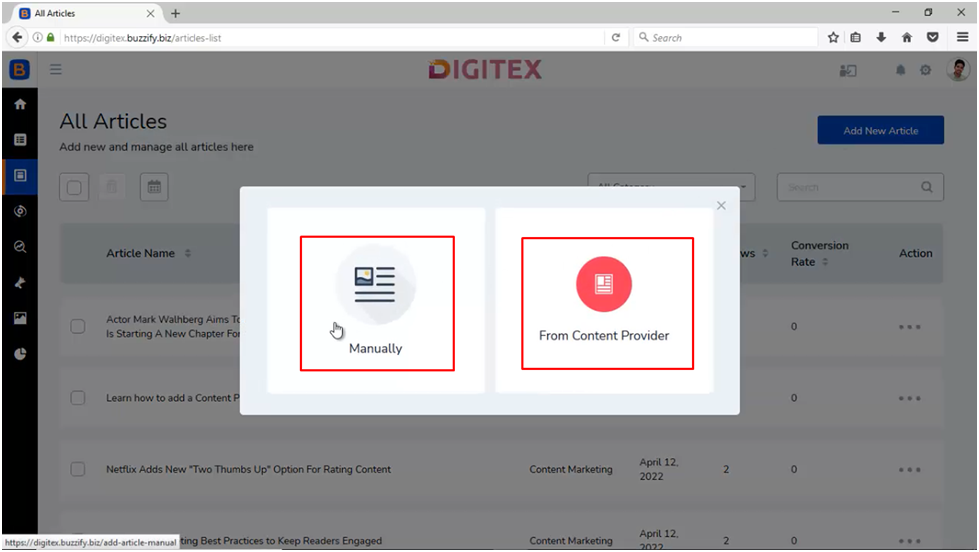
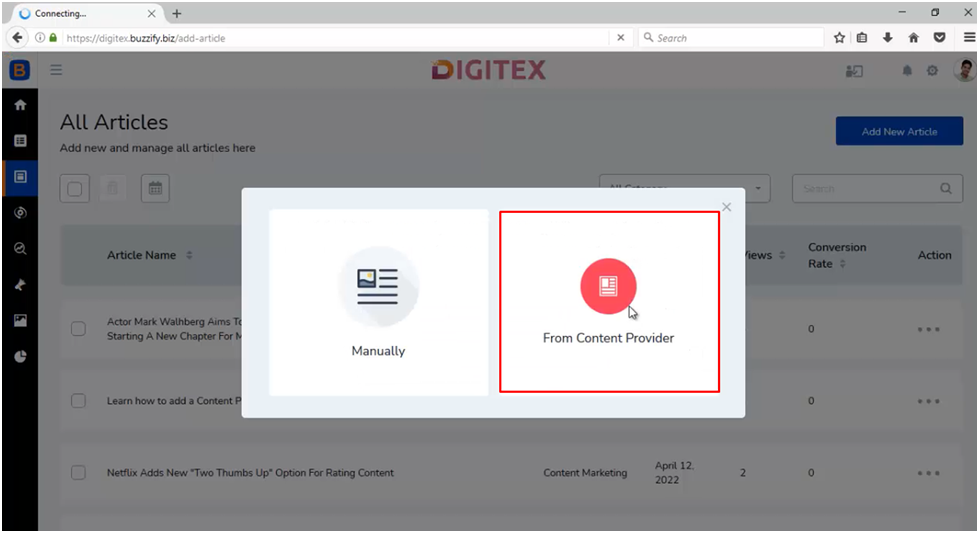
Here Just click on it and you will be asked to add it either manually or from content provider.
Also after integrating with these four content providers it will fetch articles from the one you have integrated or from all.
Here if you select content provider
Then you will be asked to select Article source.
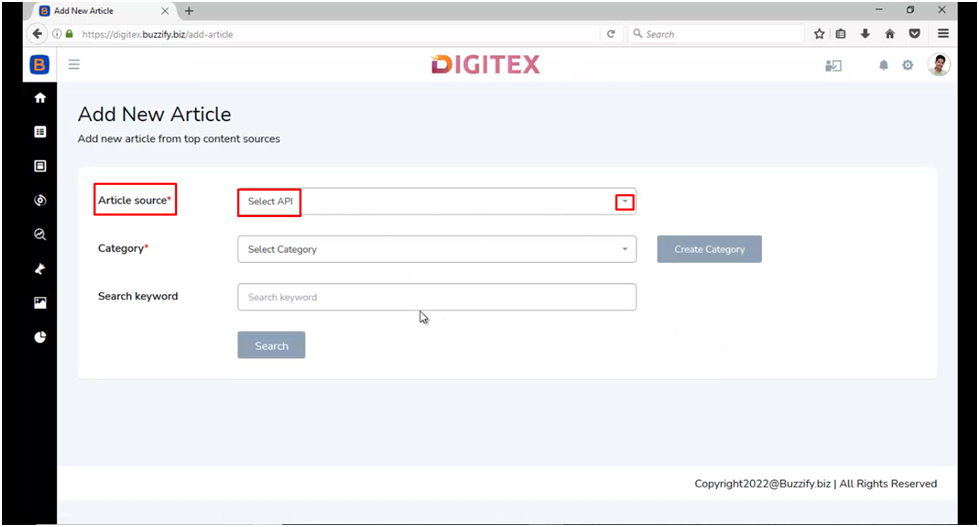
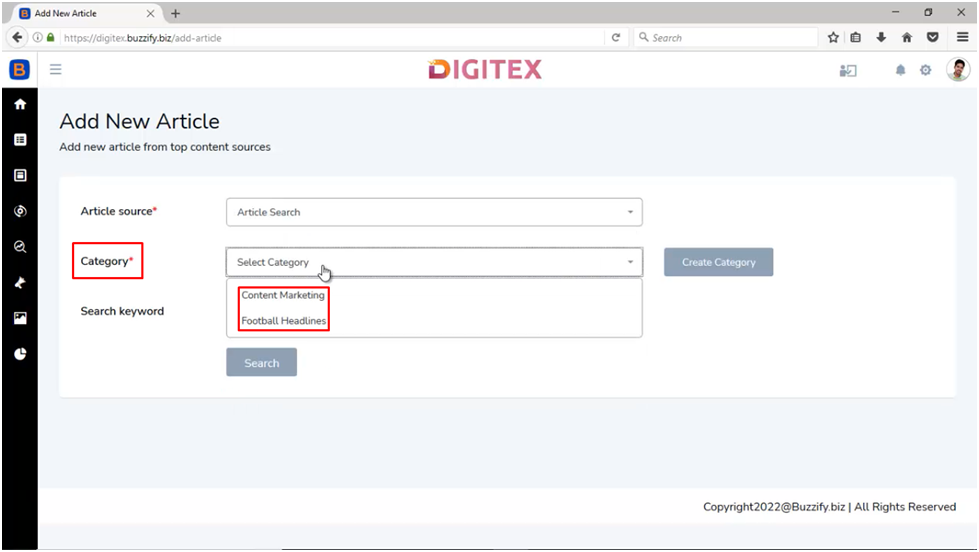
Now here check for category
Now If you choose RSS feed URL then you need to enter the RSS feed URL to search the articles
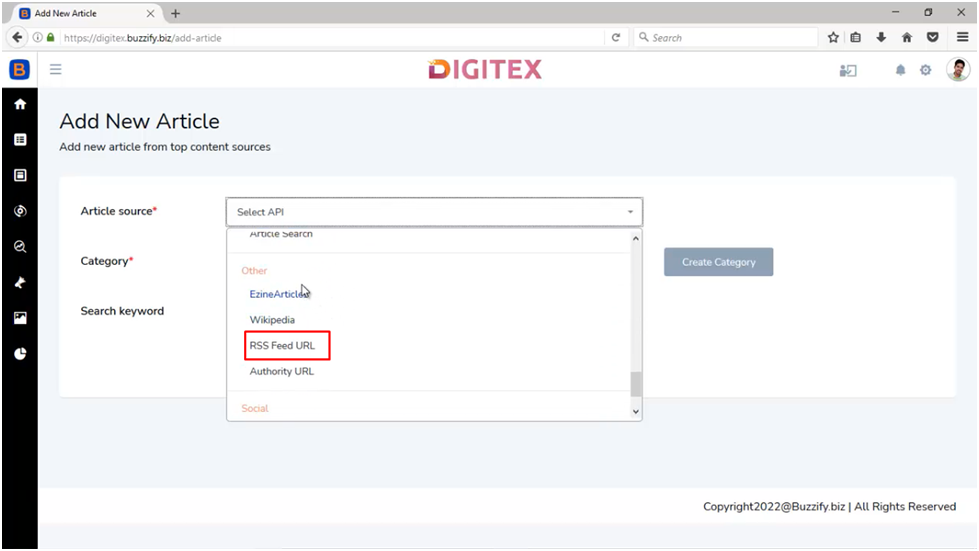
And if you choose authority URL then you need to enter the authority URL to fetch the articles and then click on search.
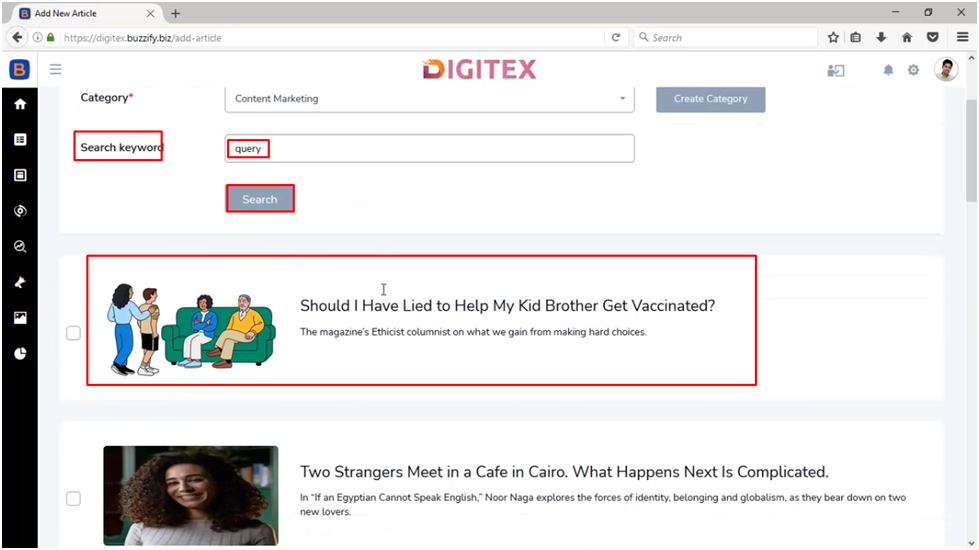
Now select the Articles by checking the small boxes located on the left side of Article images.
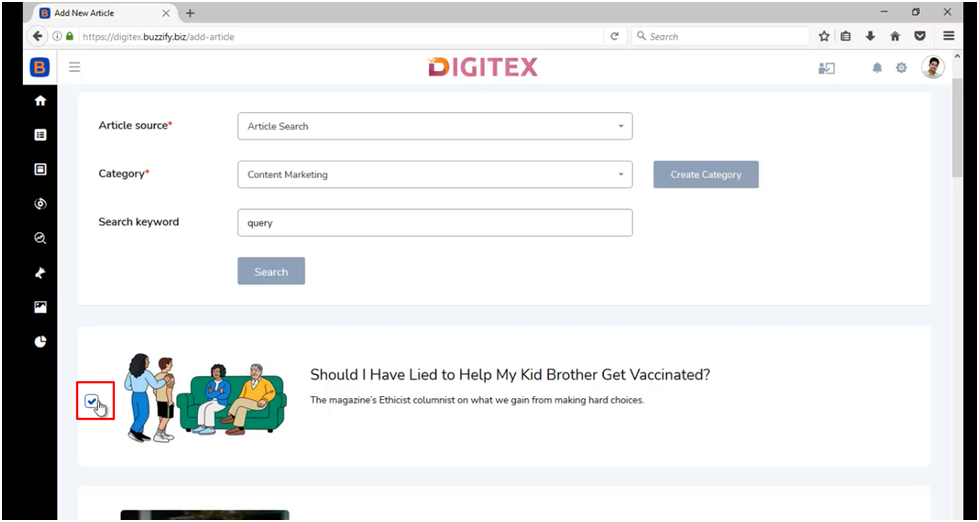
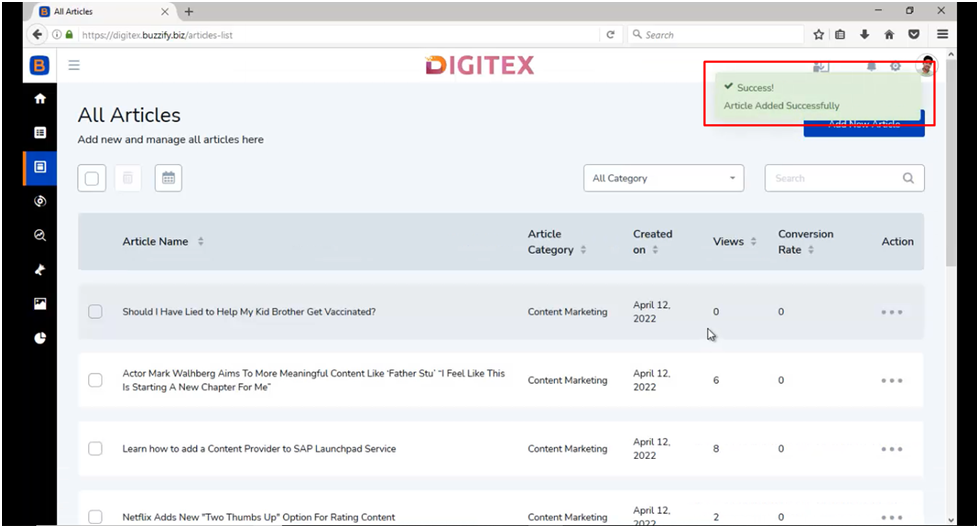
Now click on Add Article and your Article will be added
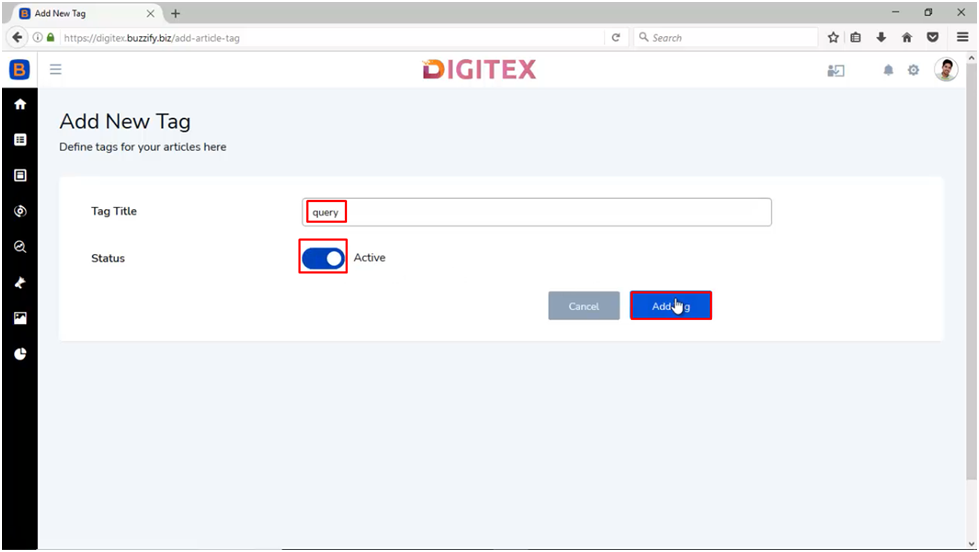
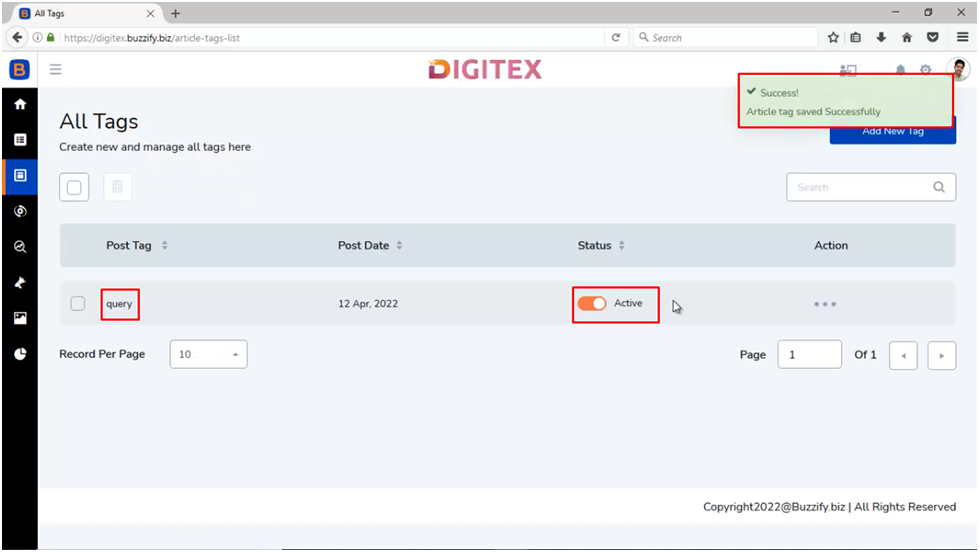
Next option under Article is Tags.
Now just click on it and you will have the option to Add New Tag located on the top right corner of the dashboard.
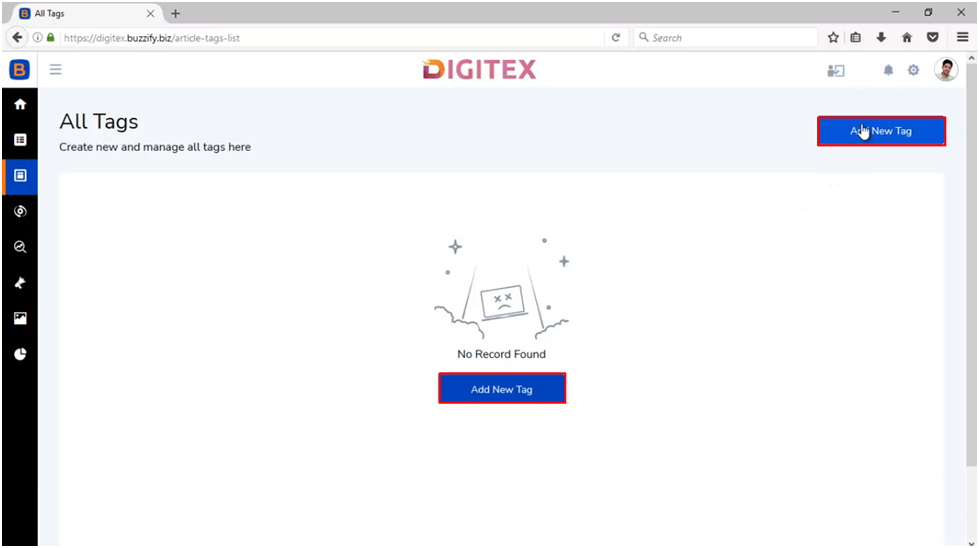
Here Just click on it and enter Tag Title. Here you can also change the status of Tags as active or inactive by using toggle button. Then finally click on Add Tag and your Tag will be added.
So, my friends in this training manual it was all about the Article option inside Buzzify.
I hope this Training Manual was helpful and will meet your requirements in order to understand Article section in a better way.For any other help contact us at support@bizomart.com
Was this article helpful?
That’s Great!
Thank you for your feedback
Sorry! We couldn't be helpful
Thank you for your feedback
Feedback sent
We appreciate your effort and will try to fix the article